Quick Answer
Swaging uses a hydraulic or mechanical press to permanently compress a ferrule onto wire rope, retaining 90-95% of rope strength. Crimping uses a hand tool to deform a ferrule, retaining 75-85% of rope strength. Use swaging for structural, lifting, and safety-critical applications. Use crimping for light-duty, temporary, or DIY projects where convenience matters more than maximum strength.
What Is Swaging?
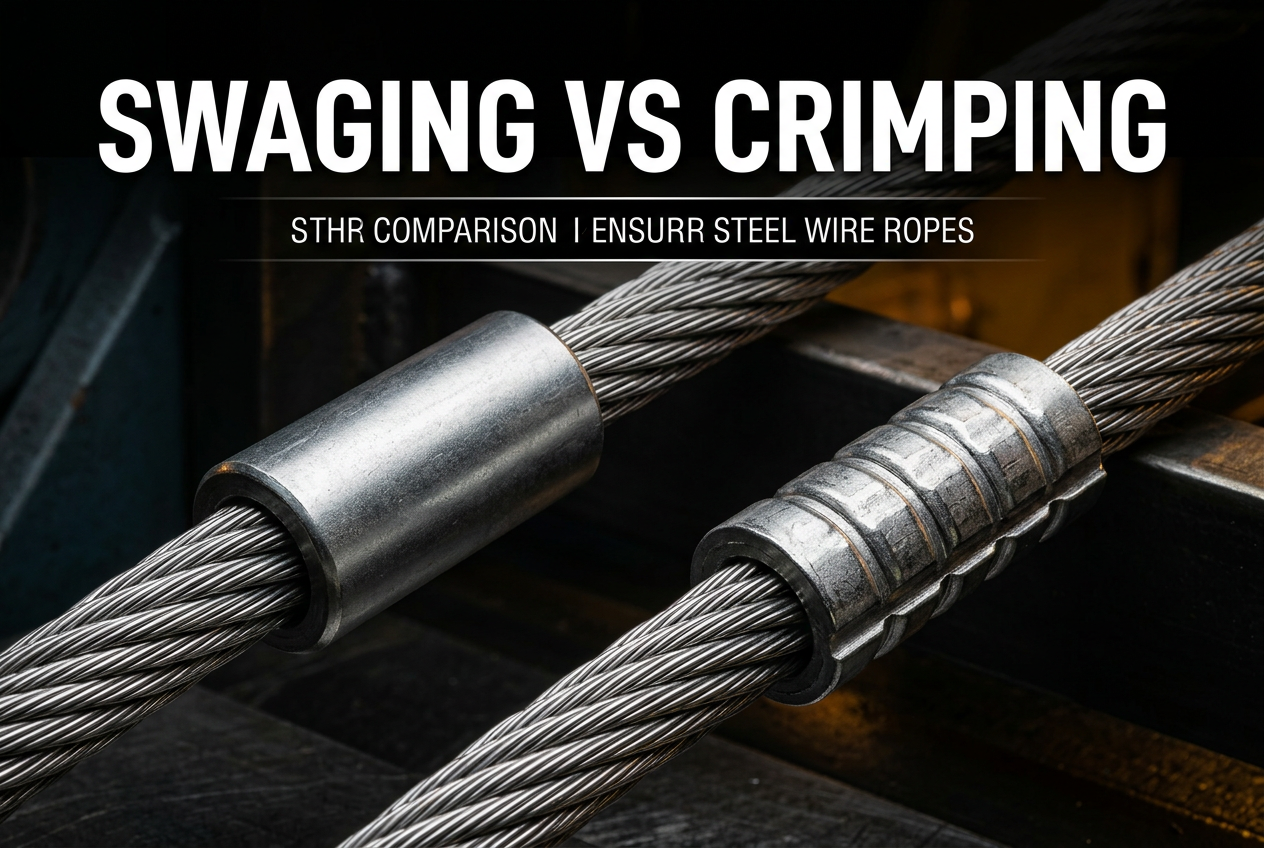
Swaging is a cold-forming process in which a hydraulic or mechanical press applies uniform, 360-degree compression around a ferrule, forcing the metal to flow tightly into every strand of the wire rope passing through it. Because the compression is applied evenly around the entire circumference in a single controlled stroke, the ferrule and rope form a dense, permanent bond with minimal internal voids.
Swaging requires a dedicated swaging machine — bench-mounted for shop use or portable hydraulic units for field work — along with dies matched to the ferrule size. The result is a clean, professional finish: a smooth, cylindrical (or oval) sleeve with no sharp edges or visible tool marks, and no adjustment needed after the press cycle completes.
Because the compression is machine-controlled and repeatable, swaged terminations typically retain 90-95% of the rope's rated breaking strength, making swaging the standard method wherever the termination needs to be certified or load-tested.
What Is Crimping?
Crimping uses a hand-operated crimping tool — similar in principle to an electrical wire crimper — to deform a ferrule at one or more discrete points along its length. Rather than compressing the full circumference at once, the tool's jaws squeeze the ferrule inward from opposing sides, creating localized flats or indentations that grip the rope.
A hand crimping tool costs roughly $30-150, requires no power source, and can be carried to a job site in a toolbox. This makes crimping fast and accessible, but the quality of the result depends heavily on operator technique — how square the tool is held, how many crimps are applied, and how much force is used all affect the outcome.
Because compression is localized and operator-dependent rather than uniform and machine-controlled, crimped terminations typically retain only 75-85% of the rope's rated breaking strength, with more variation from one termination to the next than swaging produces.
Side-by-Side Comparison
| Factor | Swaging | Crimping |
|---|---|---|
| Strength Retention | 90-95% | 75-85% |
| Tool Cost | $2,000-15,000 (machine) | $30-150 (hand tool) |
| Consistency | Very consistent | Operator dependent |
| Speed | Fast (production) | Slower (manual) |
| Finish Quality | Professional, smooth | Visible deformation |
| Portability | Fixed workshop | Field/on-site |
| Best For | Structural, marine, lifting | DIY, light-duty, temporary |
| Certification | Can be certified/tested | Difficult to certify |
When to Use Swaging
- Architectural cable railing that must meet building codes
- Marine standing rigging — see our guide to marine rigging applications
- Lifting slings and crane cables
- Safety-critical applications such as fall arrest systems and zip lines
- Production or manufacturing runs where high volume demands consistency
In each of these cases, the termination carries a load where failure would cause injury, property damage, or a code violation — the added cost of a swaging machine (or a shop that offers swaging as a service) is justified by the strength and consistency it delivers.
When to Use Crimping
- Garden trellis and fencing
- Temporary rigging
- DIY cable projects at home — if you're still deciding on rope specifications, see how to choose wire rope
- Light-duty hanging and suspension
- Field repairs made in an emergency, pending a proper swaged replacement
Crimping is a reasonable choice whenever the consequences of a lower strength margin are minor and the convenience of a hand tool outweighs the benefits of a shop-pressed termination.
Common Mistakes
- Using crimped connections where swaging is required by code or engineering spec
- Using the wrong ferrule size — the inner diameter must match the rope diameter exactly
- Under-crimping, which leaves the ferrule too loose to grip the rope securely
- Over-crimping, which can nick or shear individual wires inside the ferrule
- Inserting a frayed or mushroomed rope end, which won't seat fully in the sleeve — see how to cut wire rope without fraying
- Using galvanized ferrules on stainless rope, which sets up galvanic corrosion at the termination — see our comparison of 304 vs 316 material compatibility
Ferrule Selection Guide
Getting the ferrule right matters as much as the compression method used to apply it.
Material
Always match the ferrule material to the rope material — stainless steel ferrules with stainless steel rope, copper with galvanized rope. Mixing dissimilar metals at a termination accelerates corrosion right where the rope is under the most stress.
Shape
Oval sleeves are the standard choice for swaged, looped terminations, while round sleeves are more commonly used for crimped, single-pass connections.
Size
The ferrule's inner diameter must match the rope's outer diameter precisely — oversized ferrules allow the rope to shift inside the sleeve, while undersized ferrules won't seat the rope correctly.
Standards
DIN 3093 is the common reference standard for aluminum ferrules, while copper ferrules are widely used with stainless steel rope for their compatibility and corrosion resistance. For a broader look at fittings beyond ferrules, see our complete end fittings guide.
Testing Swaged and Crimped Connections
Whichever method you use, the termination should be verified before it goes into service.
Pull Testing
A proof load test — pulling the terminated assembly to a percentage of its rated breaking strength — confirms the termination holds without slipping or deforming further. For guidance on load testing and applicable standards, see our overview of wire rope testing methods.
Visual Inspection Criteria
Check that the ferrule is fully seated with no visible gap at the rope entry, that the compressed profile is uniform along its length, and that no individual wires are protruding, nicked, or crushed through the ferrule wall.
Identifying a Failed Termination
Warning signs include the rope slipping through the ferrule under load, visible cracks or splits in the ferrule body, and elongation or "necking" of the ferrule beyond its original compressed shape. Any of these signs means the termination should be cut off and redone — compare against rated capacities in our breaking strength chart before returning the assembly to service.
Choosing between swaging and crimping comes down to matching the termination method to the stakes of the application. If you need help specifying the right termination for your project, contact our team for guidance.